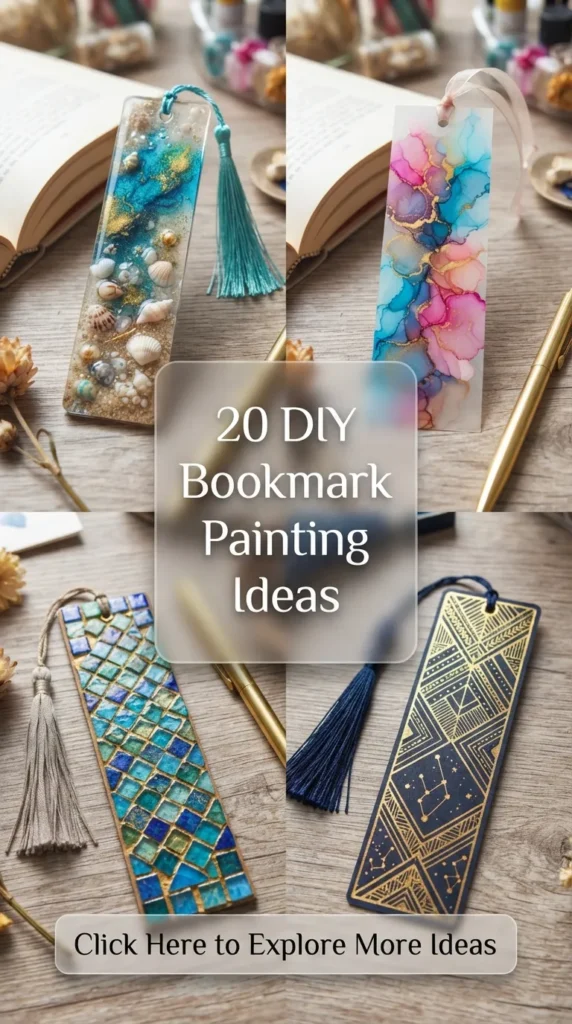
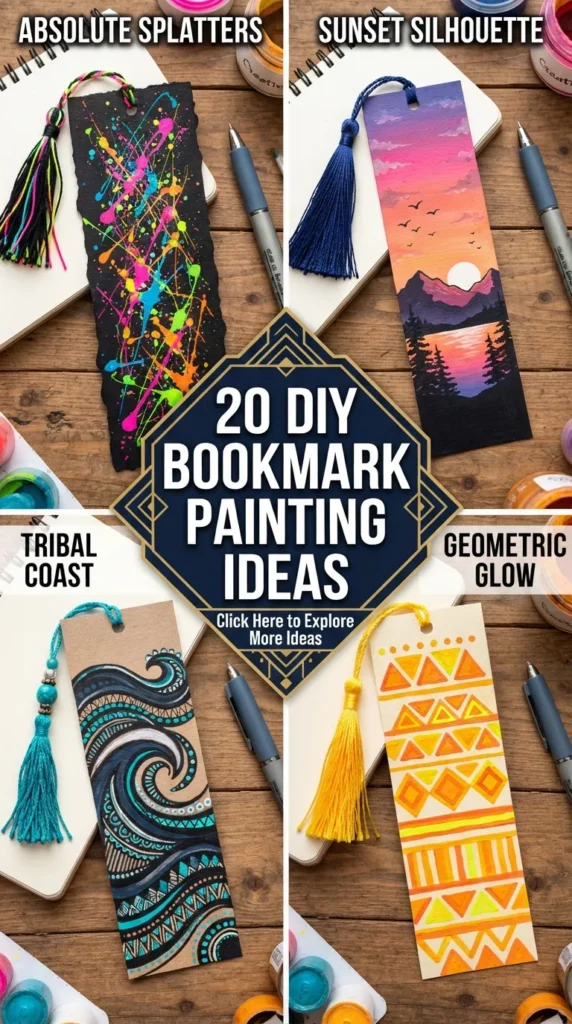
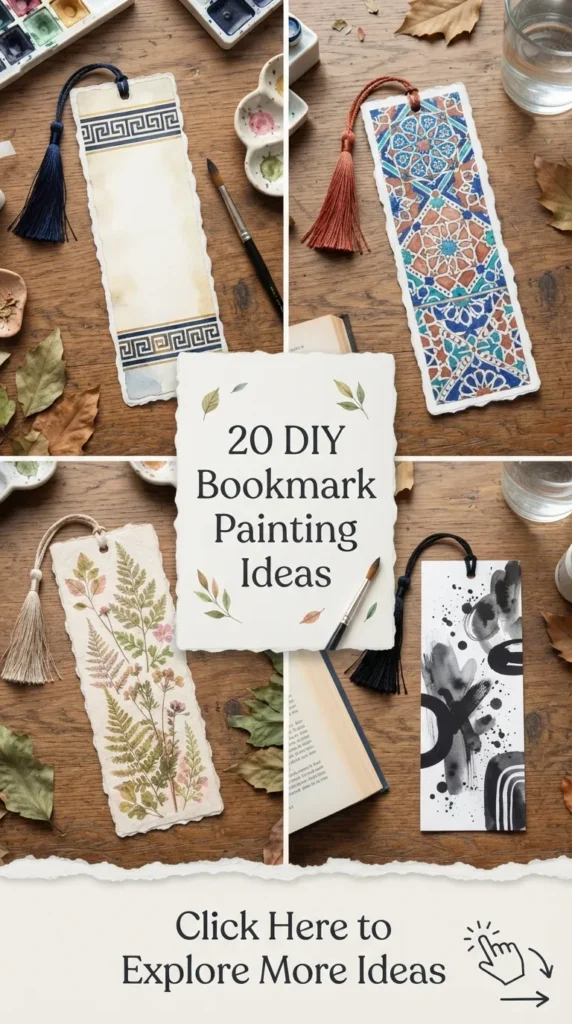
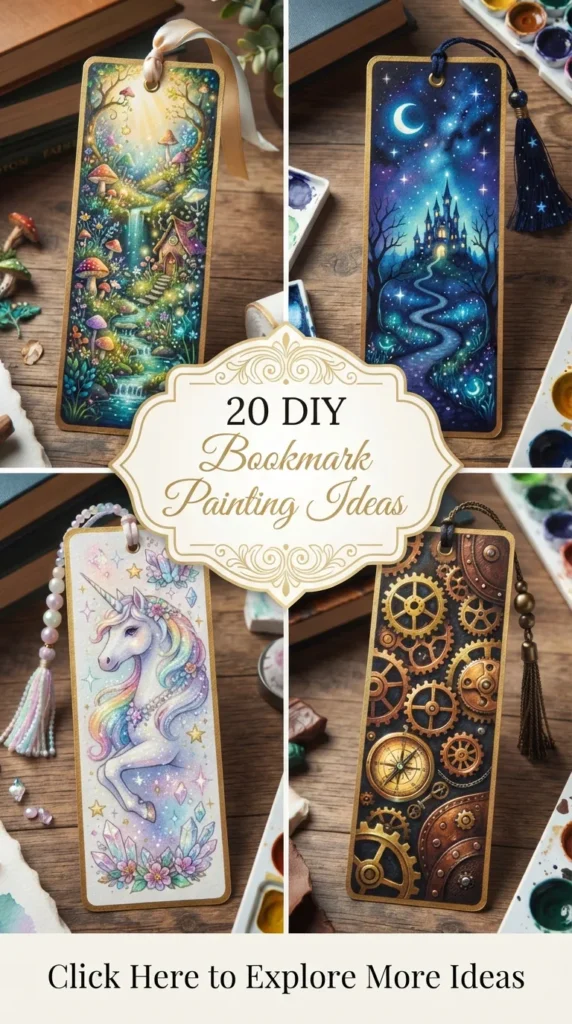
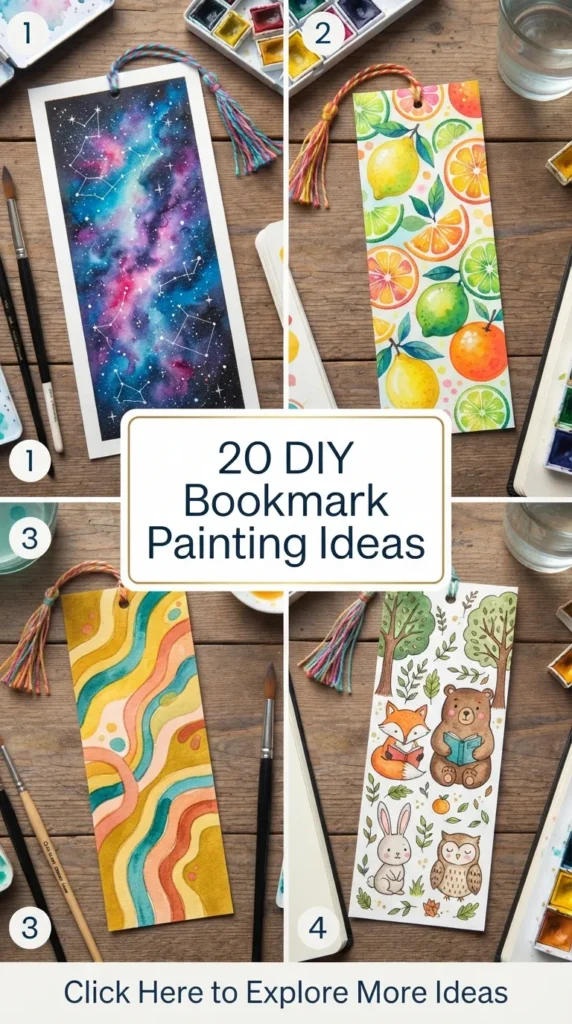
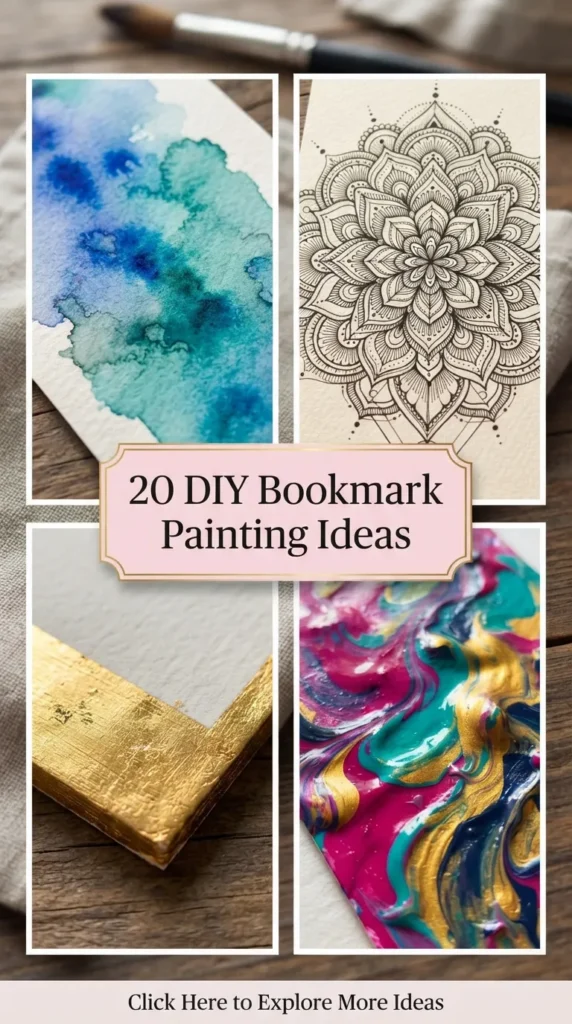
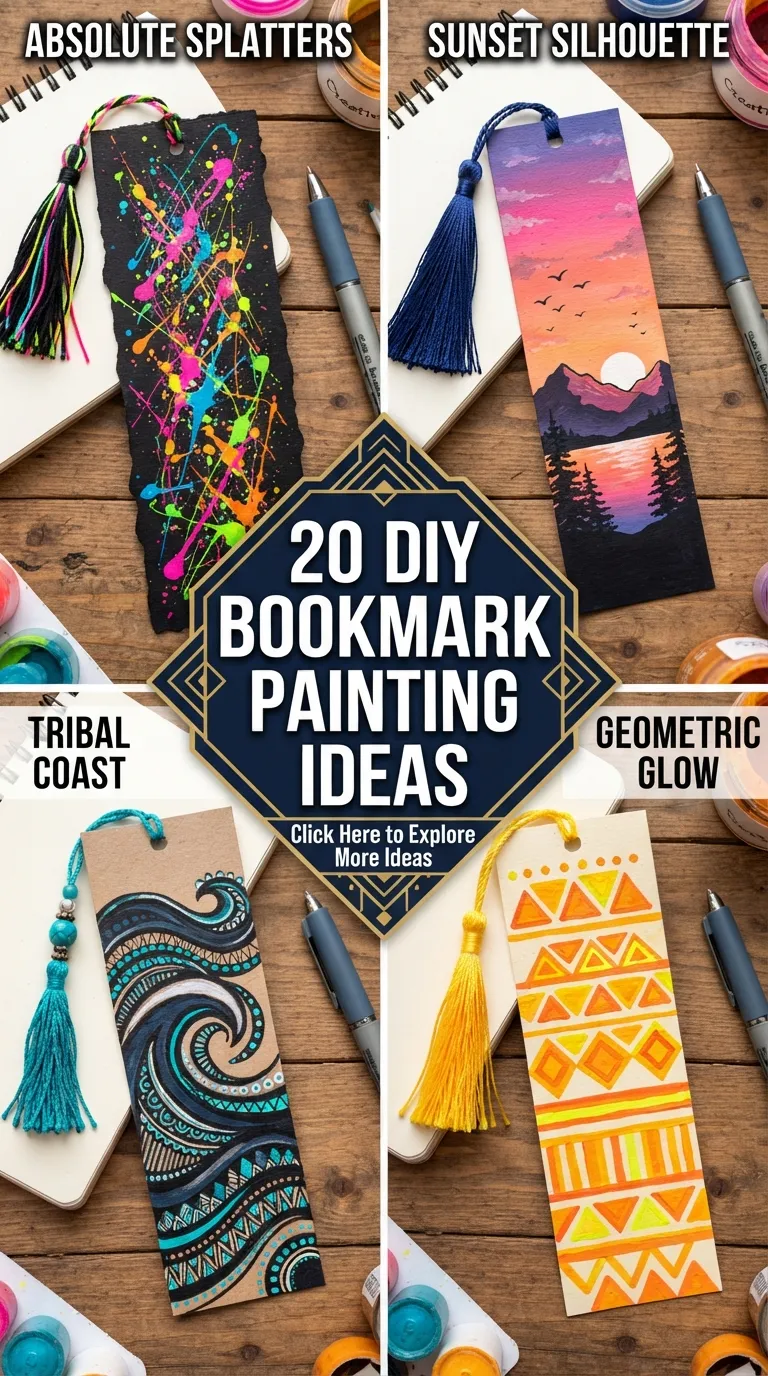
Reading a good book is one of life’s simple pleasures, and nothing elevates a quiet reading session quite like a beautiful, hand-painted bookmark tucked between the pages. Small-scale art projects like bookmark painting offer the perfect creative escape—they require minimal supplies, take only a short time to complete, and allow for endless experimentation with watercolor, acrylics, gouache, and fine line art.
Whether you are looking to curate a charming collection for your own bookshelf, create Pinterest-worthy DIY crafts, or make heartfelt handmade gifts for fellow book lovers, this ultimate guide covers 20 bookmark painting ideas. Each concept breaks down what makes the design special, step-by-step instructions for painting it, key tips and creative variations, and a list of essential supplies needed to create durable, beautiful page-markers.




1. Celestial Night Sky & Constellations
What This Idea Means
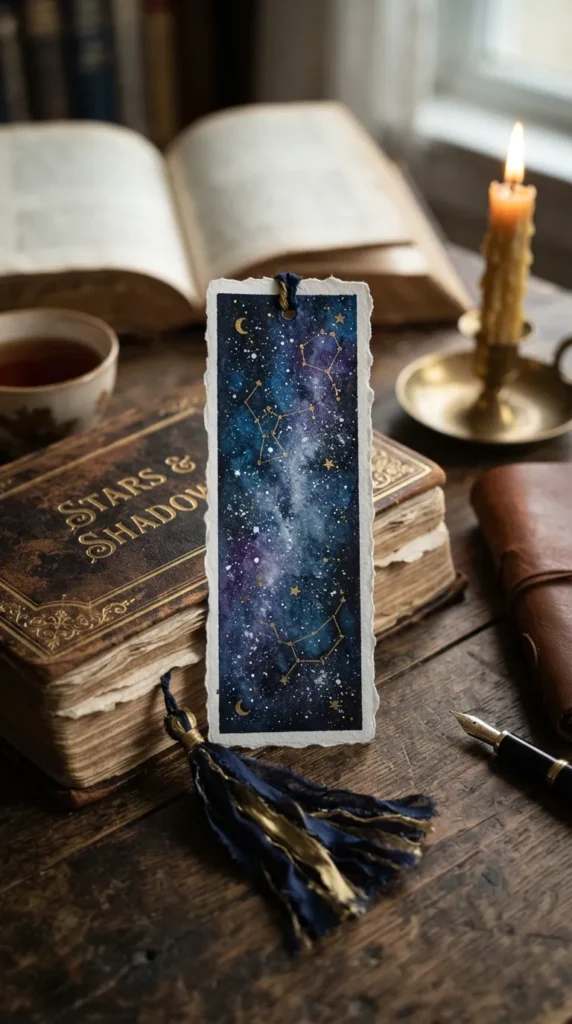
The Celestial Night Sky bookmark brings the magic of the cosmos down to earth. Blending deep blues, purples, and midnight blacks with glowing gold stars and white galaxy clouds, this aesthetic evokes mystery, quiet night readings, and dreamlike cosmic wonder.
How to Make It
- Prep the Paper: Cut heavyweight watercolor paper (300 gsm) to bookmark size (typically 2 x 6 inches). Tape the edges down on a flat board using low-tack painter’s tape.
- Paint the Galaxy Wash: Wet the paper surface lightly with clean water. Apply wet-on-wet washes of indigo, violet, navy blue, and black, letting the paints bleed together to create depth.
- Bleach or Lift Nebulae: While the paint is slightly damp, dab a clean paper towel or drop small flecks of clean water onto the paper to lift pigment and form cloudy nebulae.
- Flick the Stars: Once dry, dip a toothbrush or fan brush into opaque white gouache or white acrylic paint. Flick tiny white star specks across the galaxy wash.
- Add Constellation Details: Use a fine gold gel pen or detail liner brush to draw delicate constellations, crescent moons, and four-point starbursts. Finish with a tasseled punch hole.
Tips & Variations
- Gold Leaf Moon: Apply a small patch of leaf gold onto a central crescent moon for a rich 3D metallic shimmer.
- Zodiac Personalization: Paint custom astrological star constellations for personalized bookish gifts.
Needs & Materials
- 300 gsm watercolor paper
- Watercolor or gouache paints (Indigo, Violet, Black, Navy)
- White opaque acrylic or gouache
- Gold gel pen or liquid gold paint
- Painter’s tape, brushes, and hole punch with tassel
2. Pressed Wildflower Meadow
What This Idea Means
Inspired by cottagecore aesthetics, the Pressed Wildflower Meadow bookmark features soft, whimsical stems of field chamomile, lavender, poppies, and delicate grasses stretching upward from the bottom of the page, mimicking flowers pressed inside vintage books.
How to Make It
- Prepare Base: Cut your paper to bookmark size. Apply a soft, warm cream or off-white light watercolor wash as the background layer and let dry.
- Sketch Stems: Lightly pencil slender, curving stem lines branching out from the bottom edge of the bookmark.
- Paint Foliage: Use a fine liner brush (#0) with olive green and sage gouache to trace the delicate stems and add tiny teardrop leaves.
- Paint Floral Tops: Use a small round brush to paint loose petal clusters—soft lavender specks, bright yellow chamomile centers with white petals, and small red poppy dots.
- Add Vintage Vignette: Lightly smudge warm brown chalk or ink around the outer edges of the bookmark to complete the vintage look.
Tips & Variations
- Real Pressed Flower Blend: Combine hand-painted stems with real dried pressed flower petals glued onto the paper surface before sealing.
- Monochrome Botanical: Paint the entire meadow using only white paint over a brown kraft paper bookmark background.
Needs & Materials
- Heavyweight paper or kraft cardstock
- Gouache or watercolor paint (Sage Green, Olive, Lavender, Yellow, White, Red)
- Fine detail liner brush (#0) and round brush (#2)
- Brown ink pad for vintage edging
3. Minimalist Continuous Line Art Face
What This Idea Means
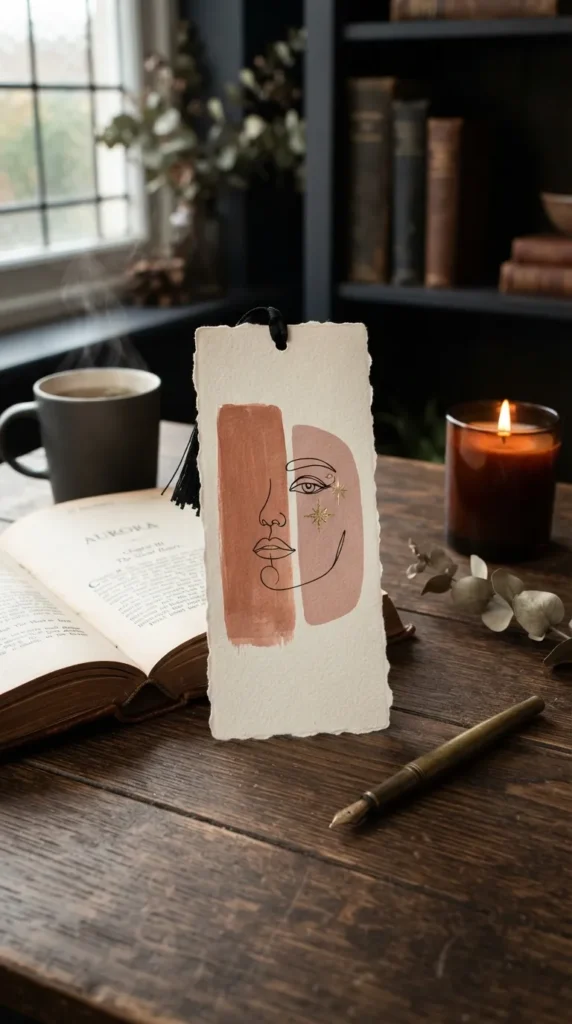
Sleek, modern, and Scandinavian-inspired, this concept uses continuous black lines to trace abstract human profiles, hands, or book-reading silhouettes over loose, warm pastel background shapes.
How to Make It
- Paint Background Color Blocks: Apply 2–3 loose, organic blob-like shapes across your paper strip using dusty rose, ochre, or terracotta paint. Allow them to dry completely.
- Practice Your Line: Practice drawing a single-line profile or hand holding a book on scrap paper to build muscle memory.
- Trace Profile: Use a soft pencil to lightly sketch the continuous line figure overlapping the painted color blocks.
- Ink the Line Work: Trace your pencil line using a waterproof black fine liner pen (0.3mm to 0.5mm) in one smooth, confident stroke.
- Seal & Finish: Protect with a matte sealant spray and attach a neutral linen cord tassel.
Tips & Variations
- Gold Line Art: Swap the black fine liner for a metallic gold gel pen over deep emerald green or navy color blocks.
- Dual Faces: Paint two continuous line profiles facing each other across the length of the bookmark.
Needs & Materials
- Smooth Bristol board or heavy paper
- Gouache or acrylic paints (Dusty Rose, Ochre, Terracotta)
- Waterproof black fine liner pen (0.3mm)
- Matte sealer spray and linen cord
4. Vintage Library Coffee Stain & Classic Quote
What This Idea Means
Designed for devoted bibliophiles, this nostalgic concept mimics an aged, antique book page complete with realistic coffee ring stains, weathered edges, and hand-lettered classic literary quotes.
How to Make It
- Age the Paper: Soak a piece of thick paper in strong brewed coffee or black tea for 5 minutes. Remove and let dry completely (or bake briefly on low heat).
- Paint Coffee Ring Stains: Dip the bottom rim of a small mug or bottle cap into dark coffee or brown watercolor, then stamp realistic ring stains onto the paper.
- Splatter Ink Flecks: Flick dark brown ink or coffee drops across the paper surface using an old toothbrush.
- Add Calligraphy Quote: Pencil your favorite literary quote down the center, then trace over it with a black fountain pen or calligraphy brush pen.
- Distress Edges: Tear the bookmark edges slightly or rub them with dark brown ink to finish the antique aesthetic.
Tips & Variations
- Wax Seal Accent: Press a real mini wax stamp onto the bottom of the bookmark over a ribbon tassel.
- Typewriter Effect: Use small alphabet stamps to stamp out quotes instead of hand lettering.
Needs & Materials
- Heavy paper or cold-press watercolor paper
- Brewed coffee/tea or brown watercolor
- Black calligraphy pen or ink pen
- Mug/bottle cap for ring stamping
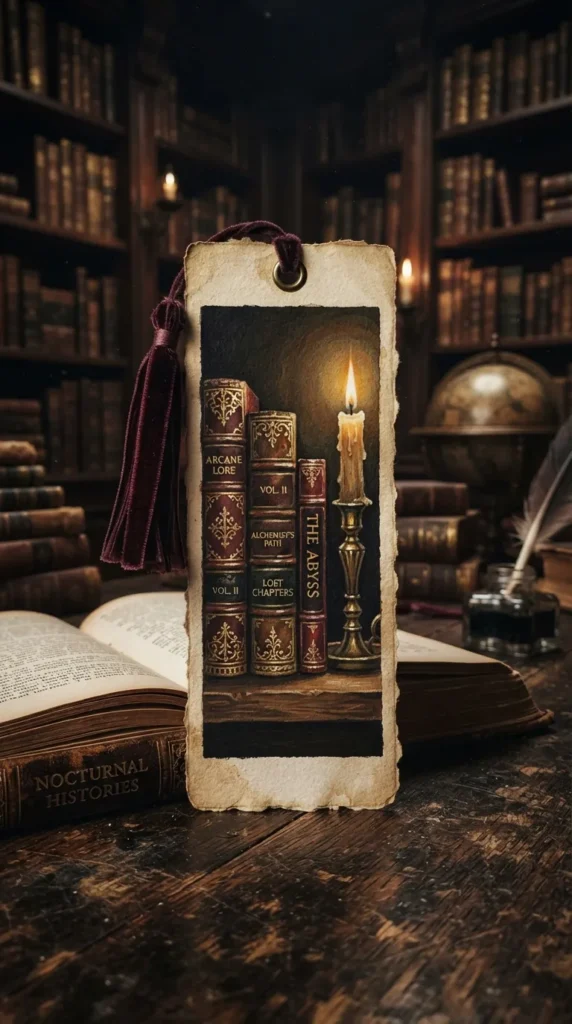
5. Cozy Moody Dark Academia Bookshelf
What This Idea Means
Capturing the warm, mysterious atmosphere of old libraries, this aesthetic depicts stacked leather-bound books, glowing candles, vintage globes, and gothic arch details painted in deep mahogany, dark green, and antique gold.
How to Make It
- Base Wash: Paint a deep charcoal or warm dark brown background wash on your bookmark strip.
- Sketch Book Stacks: Pencil a vertical stack of antique books with varying spine thicknesses and ornate details.
- Paint Book Spines: Fill book spines with rich crimson, forest green, navy, and ochre gouache paints.
- Add Gold Filigree: Use a fine gold metallic pen to draw intricate spine titles, corner flourishes, and decorative ribs on the books.
- Paint Glowing Candle: Add a small pillar candle on top of the stack with a soft yellow light halo painted around the flame.
Tips & Variations
- Arched Bookmark Top: Cut the top edge of the bookmark into a gothic pointed arch shape before painting.
- Spilled Ink Detail: Paint a small spilled ink bottle with dark drips trailing down the bottom edge of the shelf.
Needs & Materials
- Heavy cardstock or watercolor paper
- Opaque gouache paints (Crimson, Forest Green, Navy, Charcoal, Ochre)
- Fine metallic gold paint pen
- Detail brush (#00)
6. Pastel Japanese Cherry Blossom (Sakura)
What This Idea Means
Serene and delicate, this design features soft sky-blue watercolor gradients accented with dark rustic branches and soft pink cherry blossom petals (sakura) drifting gently down the length of the bookmark.
How to Make It
- Create Sky Gradient: Wet your watercolor paper strip and paint a soft ombré gradient, blending sky blue at the top down to soft cream at the bottom. Let dry.
- Paint Branches: Use a fine liner brush and dark brown or black watercolor/gouache to paint thin, jagged branches sweeping in from the upper corners.
- Paint Blossoms: Use a small round brush dipped in soft pink paint to dab clusters of five-petal cherry blossoms along the branches.
- Add Flower Centers: Place a tiny dot of magenta or dark red in the center of each blossom.
- Paint Floating Petals: Paint single pink petals scattered down the blue sky background to give a sense of gentle wind.
Tips & Variations
- Full Moon Accent: Paint a large soft white circle behind the branches to represent a luminous full moon.
- Gold Branch Edges: Trace thin gold highlights along the top edge of the dark branches.
Needs & Materials
- 300 gsm watercolor paper
- Watercolor paints (Sky Blue, Soft Pink, Magenta, Dark Brown)
- Fine liner brush (#0) and round brush (#2)
- Tassel in matching soft pink or sky blue

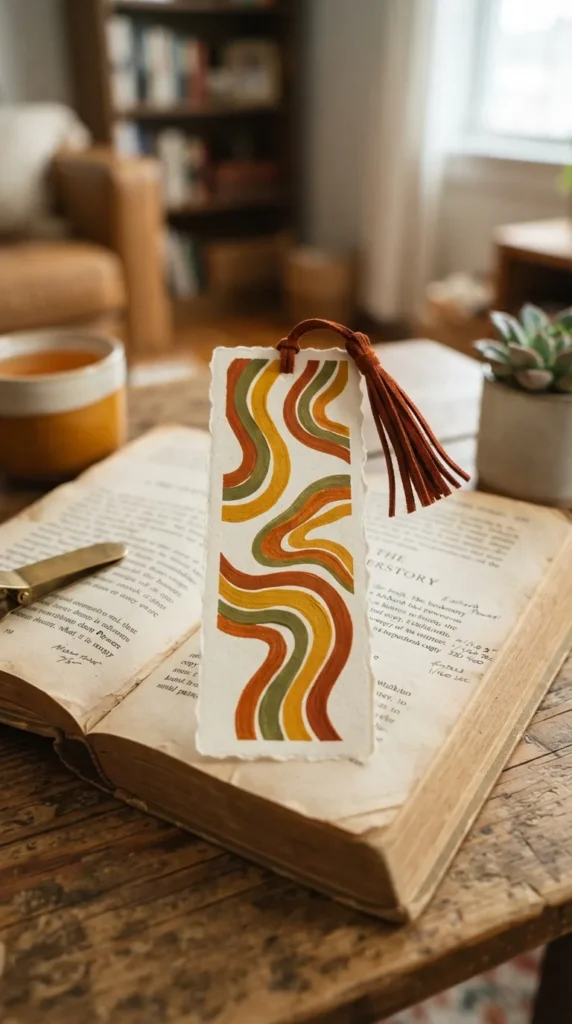

7. Retro 70s Wavy Rainbow Gradient
What This Idea Means
Bringing joyful mid-century nostalgia to your reading, this idea features flowing, parallel wavy stripes painted in warm retro color palettes like mustard yellow, burnt orange, terracotta, and olive green.
How to Make It
- Sketch Fluid Waves: Lightly draw parallel S-curves or arching wave ribbons stretching vertically along the bookmark strip using a soft pencil.
- Prepare Color Palette: Mix rich, opaque gouache or acrylic colors in retro shades (mustard, rust, olive, cream, brown).
- Paint Ribbon Bands: Using a flat brush or precision round brush, carefully fill each wavy stripe with a solid, flat color coat.
- Refine Edge Lines: Clean up any shaky borders between color bands using a fine detail brush.
- Seal Finish: Apply a glossy varnish topcoat to make the retro colors pop with vibrant shine.
Tips & Variations
- Checkerboard Ribbon: Paint a wavy check pattern inside one of the central ribbon stripes.
- 70s Typography: Add a small curvy retro word like “READ” or “COZY” vertically along one side.
Needs & Materials
- Smooth Bristol paper or cardstock
- Opaque gouache or acrylic paints (Mustard, Rust, Olive, Cream)
- Small flat brush and detail liner brush
- Gloss varnish coat
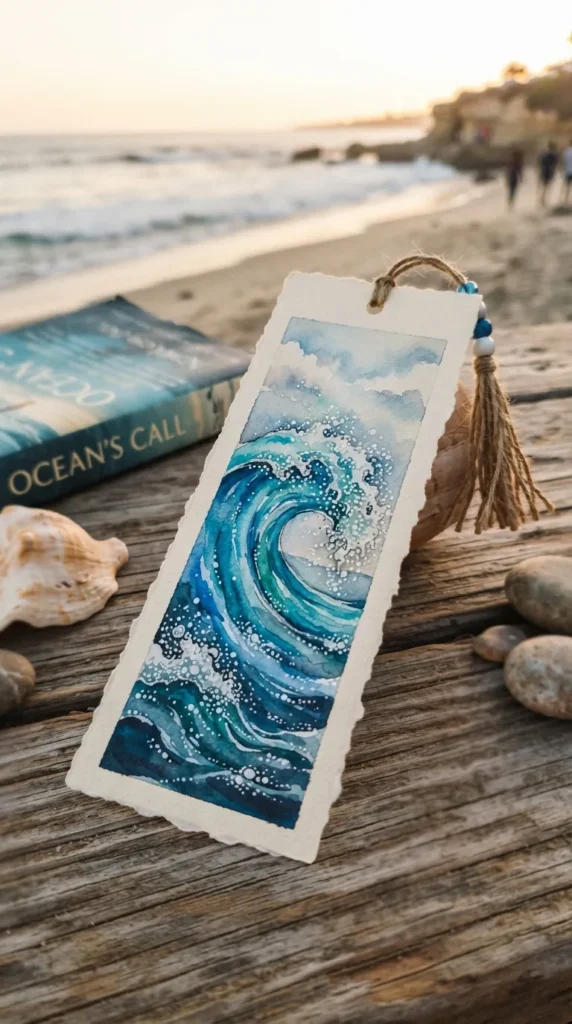
8. Ocean Wave & Sea Foam Crest
What This Idea Means
Inspired by ocean waters and traditional sea wave illustrations, this design captures crashing turquoise waves, deep navy currents, and foaming white crests surging across the bookmark surface.
How to Make It
- Base Ocean Wash: Paint the bottom half of the bookmark in deep navy blue, blending upward into brilliant turquoise and sky blue near the top.
- Draw Wave Arches: Pencil curving, arching wave crests rising up the page.
- Paint Wave Body: Shade inside the wave arches using sweeping strokes of teal and royal blue.
- Add Splashing Foam: Dip a stiff bristle brush or sea sponge into opaque white acrylic or gouache. Stipple thick, textured sea foam along the curling wave edges and splash droplets.
- Trace Water Lines: Draw thin, whispy white and gold lines trailing along the water currents.
Tips & Variations
- Real Beach Sand Base: Glue a small strip of real fine sand along the bottom edge before painting waves above it.
- Sunset Sky Header: Paint a warm orange and pink sunset sky across the top edge of the sea.
Needs & Materials
- 300 gsm watercolor paper
- Watercolors or gouache (Navy, Turquoise, Teal, Opaque White)
- Stiff bristle brush or sea sponge
- Gold paint or gel pen
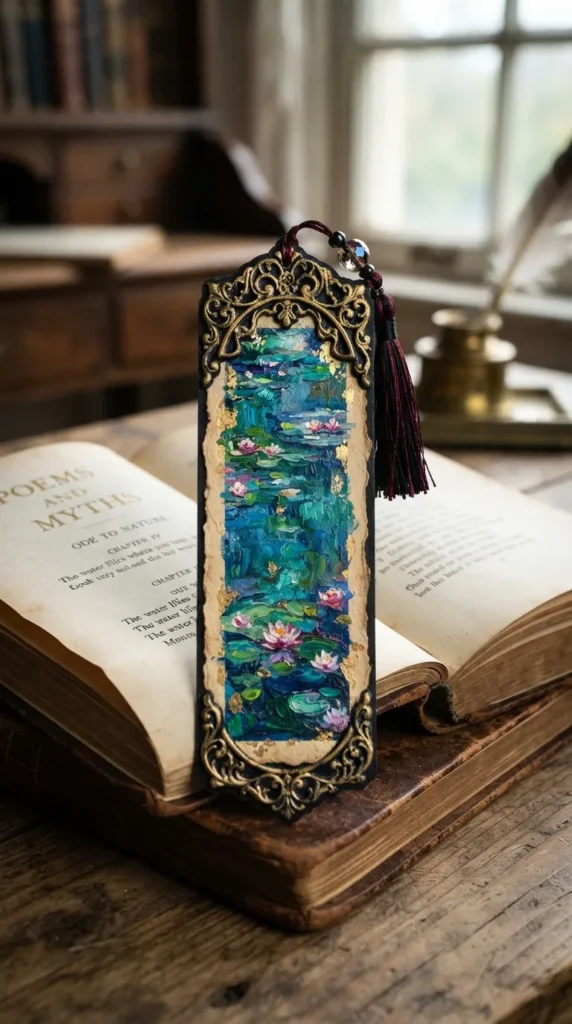
9. Monet Water Lilies Impressionist Style
What This Idea Means
Paying homage to Claude Monet’s famous masterpieces, this impressionist bookmark uses loose, textured brushstrokes of green, violet, blue, and soft pink to evoke a peaceful water lily pond.
How to Make It
- Paint Water Reflection Base: Fill the entire bookmark strip with dabs and horizontal strokes of deep blue, violet, and dark green watercolor or acrylic paint.
- Layer Light Reflections: Add short horizontal dashes of soft sky blue and yellow-green to simulate light dancing on water.
- Paint Lily Pads: Use flat dabs of emerald and olive green paint to form floating oval lily pads across the pond surface.
- Add Pink Water Lilies: Stipple bright pink, magenta, and white dots in clusters on top of the lily pads to form blooming water lilies.
- Varnish Finish: Coat with a satin protective varnish to enhance color depth.
Tips & Variations
- Impasto Texture: Use heavy-body acrylic paint applied with a small palette knife to create raised, 3D textured brushstrokes.
- Willow Branch Frame: Paint soft green weeping willow fronds drooping down from the top edge.
Needs & Materials
- Heavy cardstock or canvas paper
- Acrylic or gouache paints (Blue, Violet, Emerald, Olive, Soft Pink, White)
- Flat brush and round detail brush
- Satin varnish
10. Gothic Stained Glass Window
What This Idea Means
Reminiscent of ancient cathedral architecture, this dramatic aesthetic uses bold black outlines and translucent, jewel-toned color blocks to recreate the luminous look of gothic stained glass windows.
How to Make It
- Cut Gothic Arch: Trim the top end of your bookmark into a pointed cathedral arch shape.
- Draw Window Grid: Use a ruler and soft pencil to draw a symmetry line, geometric diamond grids, and arching window tracery.
- Ink Thick Black Lines: Trace all pencil grid lines with a bold black waterproof marker or thick liner brush to mimic lead glass seams.
- Paint Jewel-Tone Panes: Fill individual glass panels with bright, translucent watercolor or fluid acrylics in sapphire blue, ruby red, emerald, and amethyst.
- Add High-Gloss Topcoat: Apply a thick layer of high-gloss varnish or dimensional glaze to make the panels shine like real glass.
Tips & Variations
- Gold Lead Lines: Swap black lead lines for metallic liquid gold paint to create a luxurious Venetian glass effect.
- Rose Window Focus: Focus the entire design around a single large circular rose window at the top of the arch.
Needs & Materials
- Heavy watercolor paper or clear acetate sheet
- Black waterproof permanent marker (chisel/fine tip)
- Liquid watercolors or glass paints (Ruby, Sapphire, Emerald)
- High-gloss clear varnish or dimensional glaze
11. Minimalist Terrazzo Speckled Pattern
What This Idea Means
Modern, clean, and trendy, the terrazzo bookmark mimics composite stone tile by scattering irregular geometric shapes and flecks in pastel and earth tones across a neutral background.
How to Make It
- Base Color: Paint your bookmark strip in solid warm ivory, soft cream, or light beige. Let dry completely.
- Select Color Palette: Prepare 3–4 complementary gouache colors (e.g., rust orange, sage green, dusty pink, mustard).
- Paint Polygon Shapes: Use a small flat square brush to randomly paint small, irregular chips and polygon shapes scattered down the bookmark.
- Add Fine Flecks: Dip a toothbrush in dark brown or charcoal paint and flick tiny speckles over the terrazzo shapes for stone texture.
- Heat Set / Seal: Seal with a matte finish coat.
Tips & Variations
- Gold Leaf Chips: Add small flecks of real gold leaf among the painted terrazzo chips.
- Color Block Split: Paint half the bookmark solid forest green and the other half terrazzo pattern.
Needs & Materials
- Smooth paper or Bristol board
- Gouache or acrylic paints (Ivory base, Rust, Sage, Pink, Ochre, Brown)
- Small flat synthetic brush
- Toothbrush for speckling and matte sealer
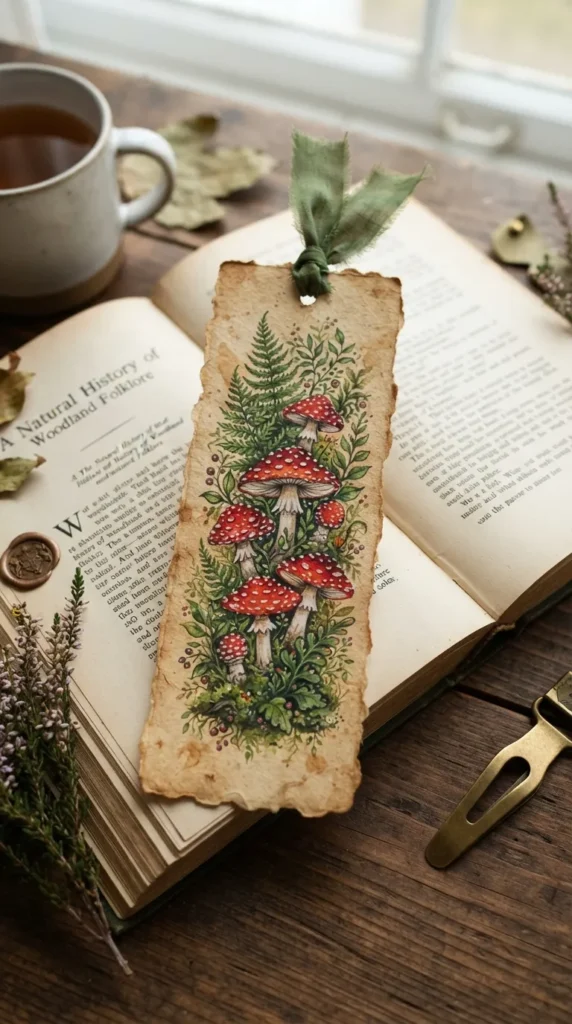
12. Cottagecore Amanita Mushroom & Ferns
What This Idea Means
Charming, earthy, and fairytale-inspired, this cottagecore theme depicts bright red Amanita toadstools, delicate woodland ferns, and tiny moss patches sprouting along the length of the bookmark.
How to Make It
- Background Wash: Paint a soft, pale tea-stained or light stone grey watercolor wash across the bookmark strip.
- Sketch Mushrooms & Ferns: Pencil 3–4 mushrooms of different heights with curved stems, accompanied by tall fern fronds.
- Paint Stems & Caps: Paint mushroom caps in vibrant crimson red and stems in warm off-white.
- Add White Cap Dots: Use a fine dotting tool or brush end dipped in opaque white paint to stamp clean dots across the red caps.
- Paint Ferns & Moss: Draw green fern fronds wrapping around the mushroom bases and stipple moss green texture along the bottom.
Tips & Variations
- Glow-in-the-Dark Dots: Mix glowing luminescent paint into white cap dots for a fun night-reading effect.
- Snails & Beetles: Add a tiny painted snail climbing up one of the mushroom stems.
Needs & Materials
- Heavy watercolor paper
- Gouache or watercolor (Crimson, Off-White, Sage Green, Forest Green)
- Fine liner brush and dotting tool
- Matte varnish
13. Sun-Kissed Amalfi Lemon Garland
What This Idea Means
Evoking the sunny Italian coastline, this cheerful aesthetic features bright yellow lemons, glossy green leaves, and delicate white blossoms trailing down a white or Mediterranean-blue patterned background.
How to Make It
- Prep Canvas: Cut your paper to bookmark size and keep background crisp white (or paint a soft blue tile border).
- Sketch Lemon Garland: Pencil oval lemons in pairs and trios connected by leafy branches winding down the bookmark.
- Paint Lemons: Fill lemons with bright canary yellow gouache or acrylic. Blend a touch of warm ochre onto one side for 3D depth.
- Paint Foliage: Use olive green and deep emerald green to paint leaves and brown twigs connecting the fruit.
- Add White Blossoms: Add tiny 5-petal white flowers with yellow stamen centers in empty spaces. Seal with gloss finish.
Tips & Variations
- Tile Pattern Backdrop: Paint a subtle blue tile grid pattern behind the lemons for authentic Italian majolica style.
- Sliced Lemons: Paint cut lemon halves showing juicy segment details and white pith.
Needs & Materials
- Heavy white paper or cardstock
- Gouache or acrylic paint (Canary Yellow, Ochre, Olive Green, White, Brown)
- Fine round brushes (#1, #3)
- High-gloss sealer


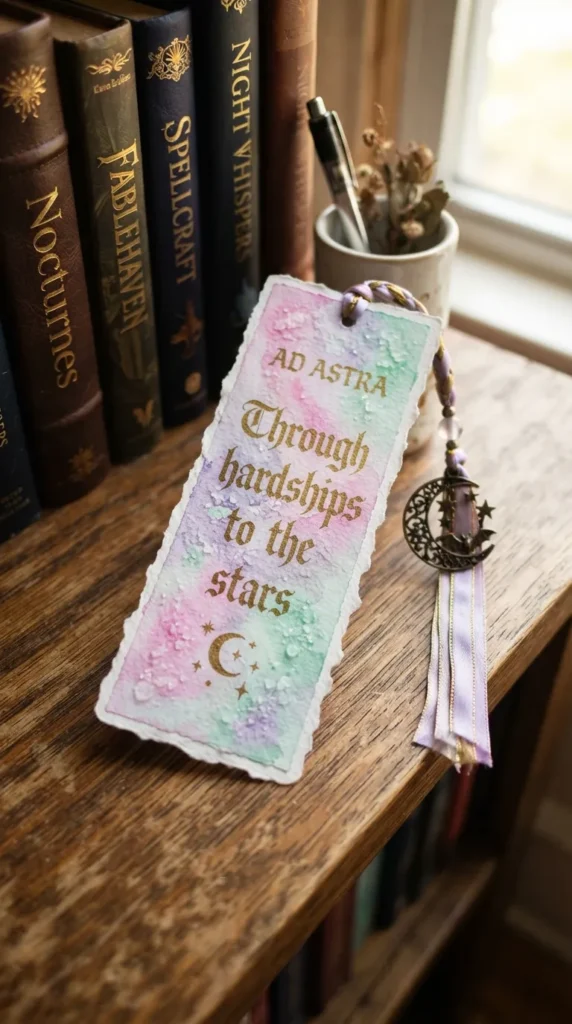
14. Abstract Pastel Watercolor Swirls
What This Idea Means
Dreamy, fluid, and relaxing to make, this design relies on blending pastel watercolors together to form soft, cloudy swirls and organic color transitions across the page.
How to Make It
- Wet-on-Wet Setup: Generously coat your watercolor paper bookmark with clean water using a flat mop brush.
- Drop Pastel Colors: Drop fluid watercolor pigments—pastel pink, lavender, sky blue, and mint green—onto the wet paper.
- Tilt Paper to Blend: Tilt the paper in different directions to let colors run, blend, and swirl together organically.
- Add Salt Texture (Optional): Sprinkle a few grains of coarse sea salt onto the wet paint to create starburst texture spots as it dries.
- Brush Away Salt & Seal: Brush off dry salt crystals and seal with a protective spray.
Tips & Variations
- Metallic Veins: Paint fine, jagged liquid gold veins following the swirled color boundaries once dry.
- Inspiring Word Overlay: Letter a single word like “BREATHE” or “DREAM” in black ink over the pastel swirls.
Needs & Materials
- 300 gsm cold-press watercolor paper
- Watercolors (Pastel Pink, Lavender, Sky Blue, Mint)
- Large mop brush, sea salt
- Protective sealer spray
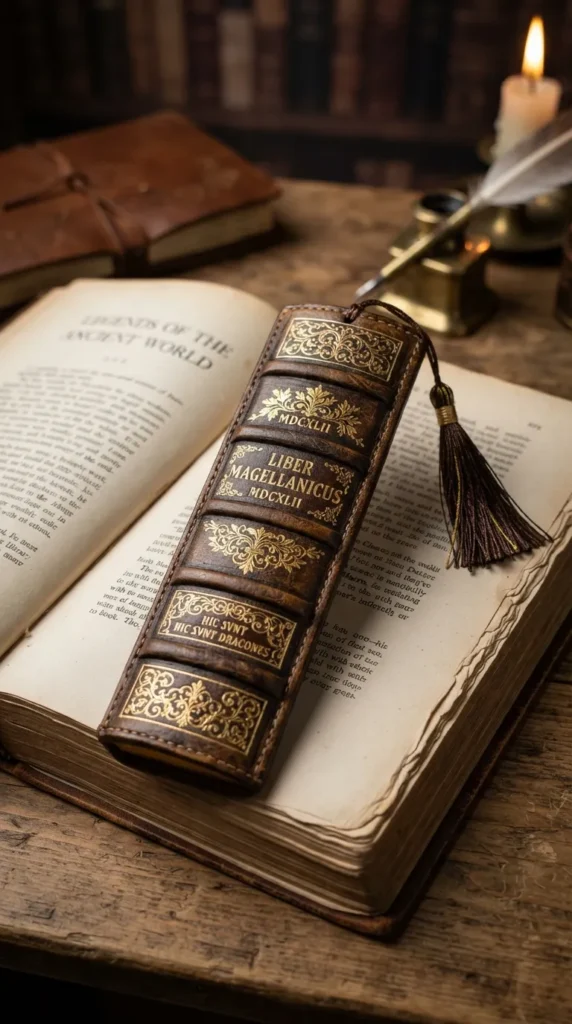
15. Classic Antique Leather Book Spine
What This Idea Means
This clever trompe-l’œil design transforms a bookmark into a mini antique leather-bound book spine, complete with raised ribs, gold leaf filigree, and rich weathered leather textures.
How to Make It
- Base Leather Wash: Paint the bookmark strip in deep mahogany brown, rich burgundy, or dark navy acrylic paint.
- Create Raised Ribs: Glue 3–4 thin horizontal strips of cardstock across the bookmark to simulate raised spine ribs. Paint over them in the base color.
- Add Leather Weathering: Sponge darker black paint along edges and dry-brush lighter tan paint over center areas to create worn leather patina.
- Paint Gold Filigree: Use a fine metallic gold pen to draw ornate corner flourishes, borders, and fictitious book titles between the ribs.
- Satin Varnish: Coat with a satin or leather-like varnish finish.
Tips & Variations
- Custom Book Title: Letter your all-time favorite book title onto the mini spine in gold script.
- Ribbon Tail: Attach a long velvet ribbon to the bottom hole punch.
Needs & Materials
- Thick cardstock or chipboard
- Acrylic paints (Mahogany Brown, Black, Tan)
- Metallic gold gel pen or liquid gold
- Thin cardstock strips (for raised ribs) and satin varnish
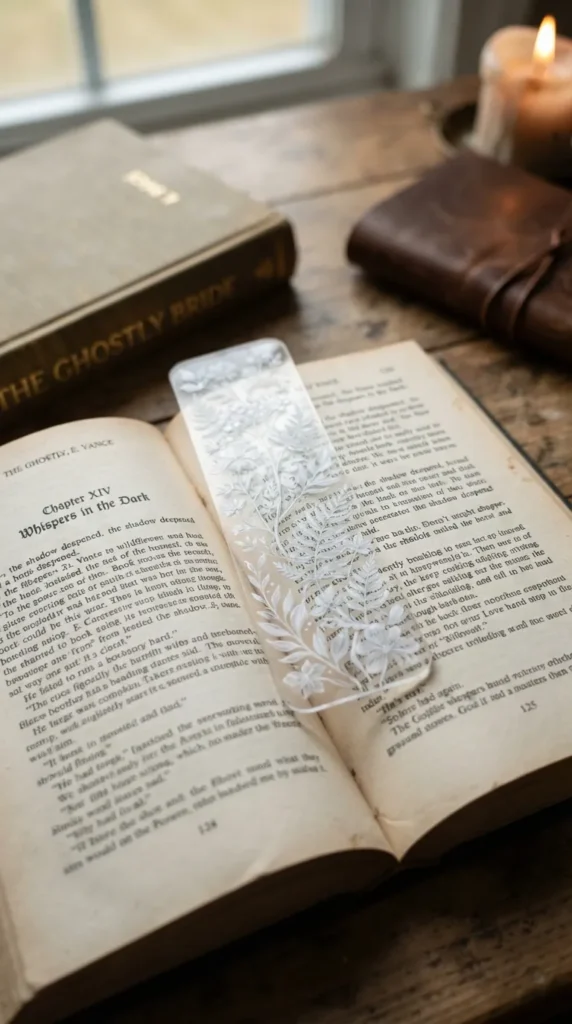
16. Translucent Flower Window (Acetate Bookmark)
What This Idea Means
Modern and eye-catching, this concept uses clear plastic acetate instead of paper, painting delicate botanical flowers with glass or acrylic paint to make the bookmark look like floating glass art inside a book.
How to Make It
- Cut Acetate Strip: Cut a piece of clear, thick plastic acetate sheet to bookmark size (2 x 6 inches).
- Sketch Design on Paper Template: Draw your botanical flower arrangement on a piece of paper to act as a guide underneath the clear acetate.
- Outline Flowers: Place acetate over the paper template and trace flower outlines using a black or white permanent fine paint marker.
- Fill Petals: Fill flowers and leaves using translucent glass paints or opaque acrylics.
- Punch Hole & Punch Seal: Use a heavy-duty hole punch at the top and loop a sheer organza ribbon through.
Tips & Variations
- Gold Foil Outline: Use a liquid gold metallic marker for all flower outlines to create a stained glass effect.
- Pressed Leaf Sandwich: Sandwich real pressed leaves between two clear acetate sheets taped with gold foil tape edges.
Needs & Materials
- Clear thick plastic acetate sheet
- Permanent acrylic paint markers (White, Black, Gold) or glass paints
- Paper template and pencil
- Heavy-duty hole punch and organza ribbon
17. Terracotta Boho Sun & Geometric Arches
What This Idea Means
Bringing desert warmth and modern mid-century geometry to your reading, this theme combines layered arches, half-suns, and dotted motifs in earth tones like rust, terracotta, ochre, and sand.
How to Make It
- Base Coat: Paint your bookmark strip in solid warm nude or raw linen beige.
- Draft Geometric Shapes: Pencil a tall arch shape at the bottom, a central sun disk, and concentric curves.
- Paint Arches: Fill arches with rich terracotta and rust gouache paint using a small flat brush.
- Paint Sun & Rays: Fill the sun shape with warm mustard yellow and draw clean straight ray lines extending outward.
- Add Dotted Details: Use a white or black gel pen to add clean accent dots and dashes framing the arch borders.
Tips & Variations
- Tasseled Hem: Attach a small tan cotton fringe or tassel along the bottom edge for bohemian texture.
- Speckled Background: Stipple tiny brown clay flecks across the background before painting arches.
Needs & Materials
- Heavy cardstock or linen paper
- Gouache paints (Terracotta, Rust, Ochre, Nude, White)
- Flat brush and detail liner brush
- Cotton fringe or tassel
18. Whimsical Fairytale Door in Forest
What This Idea Means
Inspiring fantasy readers, this magical concept depicts a tiny arched wooden fairy door set into the mossy trunk of an ancient forest tree, complete with climbing ivy, lanterns, and tiny stone steps.
How to Make It
- Base Tree Bark: Paint a dark brown wooden bark texture across the bookmark strip.
- Paint Arched Door: Pencil a small rounded wooden door at the bottom center. Paint it rich teal or burgundy with dark wood grain lines.
- Add Door Hardware: Paint a tiny gold door handle, hinges, and a small glowing lantern hanging beside the frame.
- Paint Climbing Vines: Draw green ivy vines with tiny leaves creeping up around the door frame.
- Add Cobblestone Path: Paint small grey stones leading up to the door threshold with green moss growing between cracks.
Tips & Variations
- Glowing Keyhole: Paint a soft yellow light glow emanating from under the door gap and keyhole.
- Seasonal Variations: Paint a winter version with soft white snow dusting the door frame and ivy.
Needs & Materials
- Heavy paper or cardstock
- Gouache or acrylic paints (Dark Brown, Teal, Gold, Forest Green, Grey, Yellow)
- Fine detail liner brush (#00)
- Matte sealer
19. Cute Kawaii Cat Reading a Book
What This Idea Means
Sweet, adorable, and cozy, this kawaii-style illustration shows a cute chubby cat wearing glasses curled up in a cozy armchair or blanket, holding a tiny open book.
How to Make It
- Light Pencil Sketch: Sketch a round cat silhouette wearing round glasses, tucked inside a cozy blanket holding a tiny open book.
- Ink Outlines: Trace pencil sketch with a clean black fine liner pen.
- Paint Base Colors: Fill cat fur with soft grey or ginger orange paint, blanket with pastel pink, and book pages with white.
- Add Cute Face Features: Paint closed happy eyes, rosy pink blush cheeks, and tiny cat whiskers.
- Add Background Accents: Paint tiny floating hearts or stars around the cat head.
Tips & Variations
- Custom Pet Portrait: Paint the cat to match the fur pattern of your own real-life pet.
- Coffee Cup Accent: Add a small steaming mug sitting on a table next to the reading cat.
Needs & Materials
- Smooth Bristol board or heavy paper
- Gouache or acrylic markers (Orange/Grey, Pastel Pink, White, Pink)
- Waterproof fine liner pen (0.3mm)
- Matte protective spray
20. Gothic Dark Floral & Skull Profile
What This Idea Means
Appealing to dark academia and gothic romance lovers, this dramatic aesthetic pairs a realistic human skull profile or skeletal hand with rich, dark burgundy roses and thorny vines.
How to Make It
- Dark Background: Paint your bookmark strip in solid matte black or deep charcoal.
- Sketch Skull/Hand: Pencil a detailed side profile of a skull or skeletal hand holding a rose at the center.
- Paint Bones: Fill bone areas with off-white and cream paint, adding soft grey shading in eye sockets and hollows for 3D realism.
- Paint Gothic Roses: Surround the skull with deep burgundy and crimson roses built up with layered petals.
- Add Thorny Vines: Draw dark green and black stems with sharp thorns winding around the bone structure.
Tips & Variations
- Gold Leaf Teeth/Accents: Gild skull eye sockets or rose leaf tips with metallic gold leaf for luxurious contrast.
- Raven Companion: Add a black raven perched on top of the skull head.
Needs & Materials
- Heavy black cardstock or watercolor paper
- Opaque gouache paints (Off-White, Cream, Burgundy, Crimson, Dark Green)
- Fine detail brush (#0, #00)
- Satin or matte varnish
Summary Overview & Quick Comparison
| Idea # | Style / Theme | Primary Medium | Difficulty Level | Recommended Bookmark Material |
| 1 | Celestial Night Sky | Watercolor & White Gouache | Intermediate | 300 gsm Watercolor Paper |
| 2 | Pressed Wildflower Meadow | Gouache & Fine Liner | Beginner | Cream Watercolor Paper |
| 3 | Minimalist Line Art Face | Acrylic & Fine Liner Pen | Beginner | Smooth Bristol Board |
| 4 | Vintage Library Coffee Stain | Brewed Coffee & Calligraphy Pen | Beginner | Tea-Stained Heavy Paper |
| 5 | Moody Dark Academia | Opaque Gouache & Gold Pen | Intermediate | Heavy Black/Dark Cardstock |
| 6 | Japanese Cherry Blossom | Watercolor & Detail Brush | Intermediate | 300 gsm Watercolor Paper |
| 7 | Retro 70s Wavy Gradient | Opaque Gouache / Acrylic | Beginner | Smooth Cardstock |
| 8 | Ocean Wave & Sea Foam | Watercolor & Stiff Sponge | Intermediate | 300 gsm Watercolor Paper |
| 9 | Monet Water Lilies | Acrylic / Gouache Paint | Intermediate | Heavy Canvas Paper |
| 10 | Gothic Stained Glass | Liquid Watercolors & Marker | Intermediate | Heavy Paper / Acetate |
| 11 | Minimalist Terrazzo | Gouache Paint & Toothbrush | Beginner | Smooth Bristol Board |
| 12 | Cottagecore Mushroom | Gouache & Dotting Tool | Intermediate | Heavy Watercolor Paper |
| 13 | Sun-Kissed Amalfi Lemon | Gouache / Acrylic Paint | Intermediate | Crisp White Cardstock |
| 14 | Abstract Watercolor Swirls | Fluid Watercolor & Sea Salt | Beginner | 300 gsm Watercolor Paper |
| 15 | Antique Leather Book Spine | Acrylic Paint & Gold Pen | Advanced | Thick Cardstock / Chipboard |
| 16 | Translucent Flower Window | Paint Markers on Acetate | Intermediate | Clear Plastic Acetate Sheet |
| 17 | Terracotta Boho Geometric | Gouache & Fine Liner | Beginner | Linen Paper / Cardstock |
| 18 | Whimsical Fairytale Door | Gouache / Acrylic Paint | Advanced | Heavy Paper / Board |
| 19 | Cute Kawaii Reading Cat | Acrylic Markers & Fine Liner | Beginner | Smooth Bristol Board |
| 20 | Gothic Dark Floral & Skull | Opaque Gouache Paint | Advanced |