3. Pressed Wildflower Floating Glass Frames
What This Idea Means
Pressed wildflower framing elevates the classic craft of preserving garden blooms into modern, minimalist gallery art. By placing delicate, paper-thin petals, stems, and leaves between two transparent panes of glass, the flora appears suspended in mid-air. This captures fleeting spring and summer memories in an enduring, gallery-worthy format.
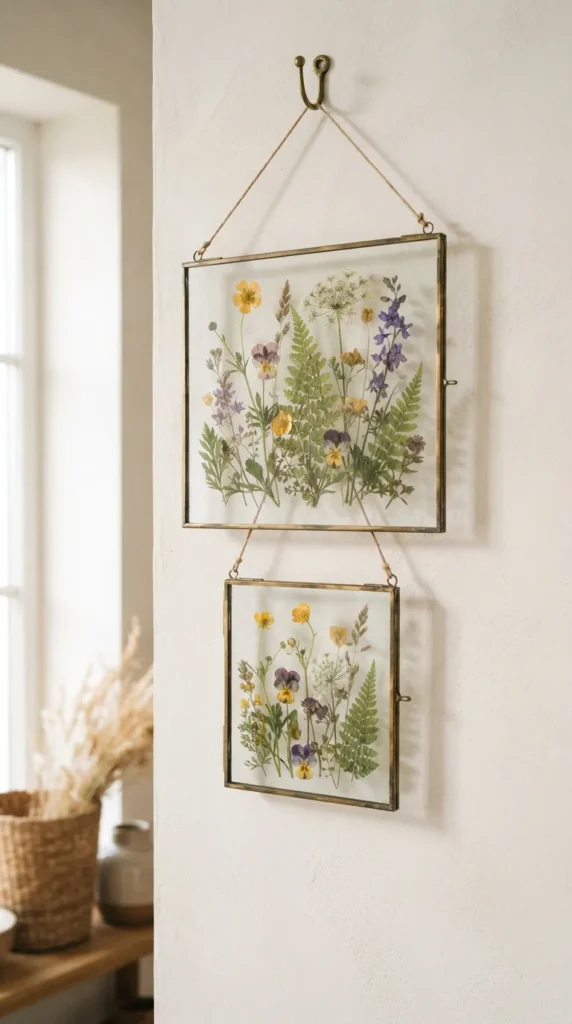
What You Need to Make It
- A traditional wooden plant press, or several large, heavy vintage hardcover books lined with acid-free blotting paper
- Assorted freshly picked blooms: pansies, violas, buttercups, cosmos, delphiniums, baby’s breath, and small maidenhair fern fronds
- Double-glass floating frames with brass, raw oak, or blackened iron metal borders
- Precision fine-point tweezers
- Clear-drying archival craft adhesive or micro glue dots
- Microfiber glass cleaning cloth and glass cleaner
Step-by-Step Instructions
- Selecting the Flora: Harvest flowers on a dry, sunny afternoon after morning dew has fully evaporated. Choose blooms with flat petal structures, such as violas, daisies, Queen Anne’s lace, and thin foliage, which dry flatter and faster.
- Pressing: Arrange the fresh flowers face-down on acid-free blotting paper, ensuring no petals overlap. Place another sheet of blotting paper on top and sandwich them between thick cardboard layers inside your flower press or heavy books.
- Drying Duration: Tighten the press straps or weigh down the books. Store them in a dry, warm space for 2 to 3 weeks until every petal is completely dehydrated, crisp, and paper-thin.
- Frame Preparation: Disassemble your double-glass floating frame. Clean both sides of all glass panes thoroughly with glass cleaner and a microfiber cloth to ensure no dust, oils, or fingerprints remain.
- Arranging the Composition: Using fine-point tweezers, gently lift the delicate dried botanicals and arrange them on the base pane of glass. Try creating minimalist asymmetrical crescents, rising wild meadows, or strict geometric grids.
- Affixing: Apply a microscopic speck of clear-drying glue to the reverse side of the flower centers using a toothpick to prevent them from slipping down over time.
- Assembly: Carefully lower the top pane of glass over your arrangement, secure the outer frame hardware, and display the finished piece on a windowsill or sunlit gallery wall.
Tips and Variations
- Calligraphy and Quotations: Have children or parents write a meaningful family phrase, date, or poetic line in black ink on a small strip of translucent vellum paper, placing it right in the center of the floral arrangement.
- Color Preservation Secret: Microwave flower presses with terra-cotta plates can speed up the drying process to just 2 minutes, often locking in brighter pinks, purples, and yellows than traditional slow pressing.
- Layered Silhouette Play: Combine pressed green leaves in the back layer with vivid yellow and orange petals in the front layer to add three-dimensional depth within the glass sandwich.