4. Hand-Poured Scented Soy Candles in Upcycled Vintage Vessels
What This Idea Means
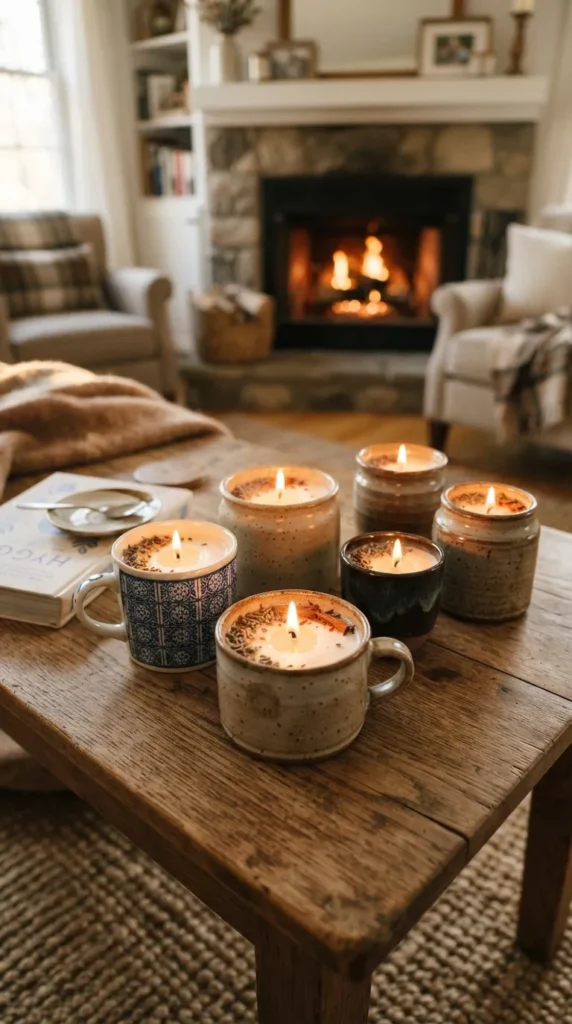
Candle-making is an engaging, multi-sensory family craft that fills the home with cozy warmth and bespoke fragrances. Instead of buying plain glass jars, this project focuses on upcycling vintage thrifted ceramic mugs, scalloped tea cups, marble jars, and textured stoneware bowls into luxury candles.
What You Need to Make It
- 100% natural soy wax flakes (clean-burning and non-toxic)
- Natural lead-free braided cotton wicks with metal base tabs
- Wooden wick centering sticks or wooden clothespins
- High-grade pure essential oils or candle fragrance oils (such as cedarwood, sweet orange, vanilla bean, lavender, and amber)
- Heat-proof double boiler or dedicated metal wax melting pitcher
- Digital kitchen thermometer
- Upcycled vessels: thrifted vintage ceramic vessels, stoneware mugs, ribbed glassware, or mini terracotta pots lined with non-porous sealant
Step-by-Step Instructions
- Preparing Vessels: Thoroughly wash and dry your upcycled containers. Ensure there are no structural cracks or chips. Wipe the interior clean with rubbing alcohol to remove any residual oils.
- Securing the Wick: Place a wick sticker or dab of hot glue on the bottom of the metal wick tab. Press the wick firmly into the dead center of the vessel base. Rest a wooden wick centering stick across the vessel rim to keep the wick standing straight.
- Melting the Soy Wax: Measure out twice the volume of your container in dry soy wax flakes. Place the wax in your metal pouring pitcher inside a water-filled saucepan over medium-low heat. Stir gently with a silicone spatula until the flakes are completely liquid and clear, reaching roughly 180°F (82°C).
- Scent Blending: Remove the pitcher from heat. Allow the wax to cool down to roughly 135°F–140°F (57°C–60°C). Pour in your curated essential oil blends (roughly 1 ounce of oil per 1 pound of melted wax). Let family members take turns gently stirring the mixture for a full two minutes to ensure the fragrance bonds properly with the soy wax molecules.
- The Slow Pour: Slowly and steadily pour the liquid wax into the prepared vessels, leaving about 1/2 inch of space at the top rim. Pouring slowly reduces the risk of air pockets and surface sinkholes.
- Cooling and Curing: Allow the candles to sit undisturbed at room temperature for 24 to 48 hours. Do not move them while they solidify.
- Trimming: Snip the cotton wick down to exactly 1/4 inch above the wax surface with scissors or a wick trimmer before lighting for the first time.
Tips and Variations
- Botanical Surface Embellishments: Right as the candle surface begins to turn opaque during cooling, gently place a few dried lavender buds, crushed cinnamon chips, or miniature rose petals along the outer edge, keeping materials clear of the wick flame.
- Layered Ombre Scents: Pour the candle in three stages, tinting each layer with a pinch of natural candle dye block and shifting the scent profile from fresh citrus top notes to deep woodsy base notes.
- Custom Wood Wicks: Swap standard cotton braided wicks for natural cross-shaped crackling wood wicks to add a cozy, crackling fireplace sound to your home.