4. Framed Pressed Pressed-Botanical Glass Panels
Idea Overview
Botanical glass frames capture seasonal natural beauty in a minimalist, floating style. By pressing gathered leaves, ferns, or small wild blooms between sheets of glass, you create timeless wall art that relies on sunlight and shadow rather than bold ink prints. This project costs virtually nothing if you upcycle glass from old thrifted frames.
Materials Needed
- Two sheets of identical glass (or floating glass picture frames)
- Pressed dried botanical stems (ferns, leaves, or pressed flowers)
- Linen tape or brass copper foil tape
- Clear drying craft glue
- Twine or thin leather cord for hanging
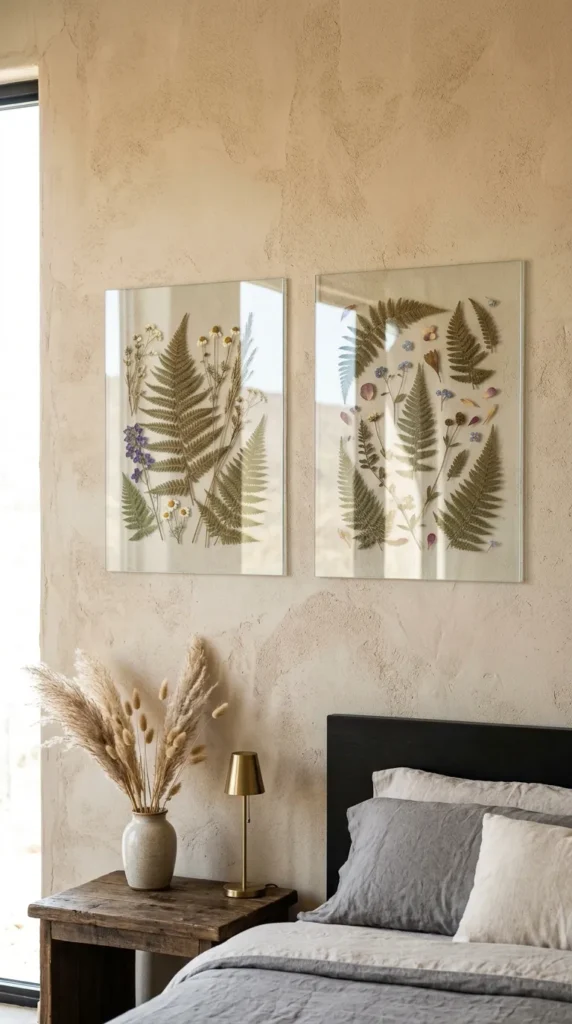
Step-by-Step Instructions
- Collect fresh botanical cuttings and press them inside heavy books lined with parchment paper for 7 to 10 days until completely flat and dry.
- Clean both sheets of glass thoroughly to eliminate fingerprints or dust spots.
- Lay the first glass sheet flat down and place your dried botanical stem directly in the center. Use a micro-dot of clear glue to fix it in place.
- Carefully place the second sheet of glass directly on top, sandwiching the pressed plant inside.
- Wrap linen tape or metallic copper tape around all four outer edges to seal the glass layers firmly together.
- Secure a small loop of cord or hanging wire to the top back edge of the frame.
Tips & Variations
- Tip: Ensure the plants are 100% dry before framing, as lingering moisture will cause mildew over time inside the glass.
- Variation: Arrange multiple small frames featuring individual leaf species into a vertical gallery wall above a bed headboard.