Home organization does not have to mean plain plastic bins and sterile containers. Soft, textured, and custom-made fabric storage baskets add warmth, personality, and charm to any room. Fabric baskets are versatile, washable, customizable, and budget-friendly. Whether organizing a craft closet, styling a nursery shelf, taming hallway clutter, or creating chic linen closet storage, these 20 aesthetic DIY fabric storage basket ideas combine practical storage with elevated interior decor.
1. Reversible Quilted Canvas Bin
What This Idea Means
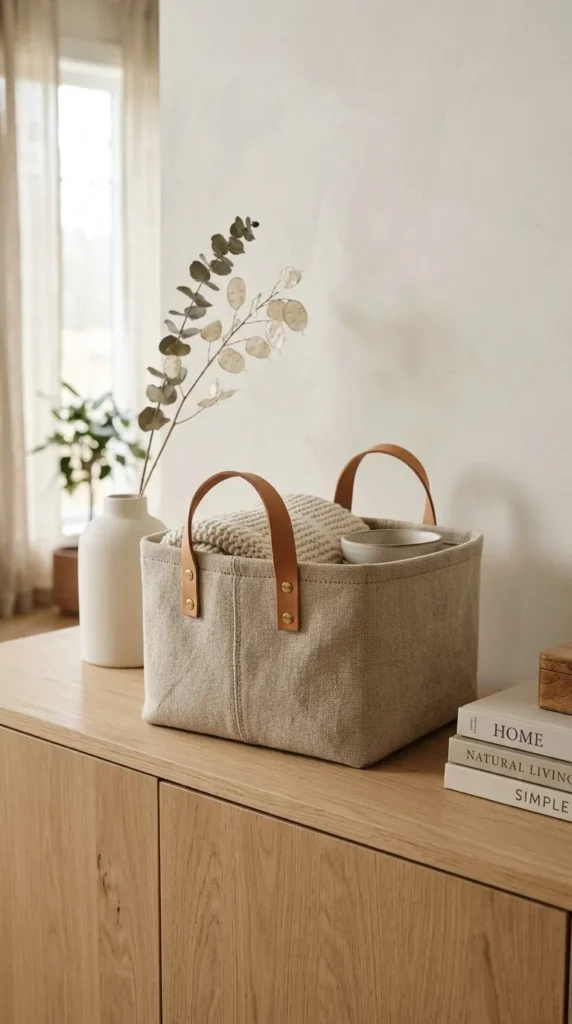
The Reversible Quilted Canvas Bin combines structure and versatility. Featuring quilted padding stitched into heavy-duty canvas, this basket holds its shape while offering two distinct visual styles in a single container. Flipping the top cuff over reveals a contrasting lining pattern, making it a focal point on open shelving or kitchen pantries.
What You Need
- 1/2 yard heavy cotton canvas or duck cloth for the exterior
- 1/2 yard printed quilting cotton for the lining
- 1/2 yard fusible fleece or dense foam interfacing
- Quilting ruler, rotary cutter, and fabric marking pen
- Coordinating heavy-duty thread and sewing machine
- Quilting walking foot (optional but recommended)
How to Make It
- Cut two matching rectangles (18 x 14 inches) from exterior fabric, lining fabric, and fusible fleece. Cut two 10 x 10 inch squares for the base from each fabric type.
- Fuse the fleece to the back of the exterior fabric panels using a hot steam iron.
- Mark diagonal grid lines spaced 1.5 inches apart across the exterior panels. Quilt along these lines using a straight stitch.
- Pin exterior side pieces right sides together and stitch side seams using a 1/2-inch seam allowance. Attach the square bottom panel to create a 3D box structure.
- Repeat the sewing process for the lining fabric, leaving a 4-inch opening along one bottom edge for turning.
- Insert the exterior bin inside the lining bin, right sides facing each other. Align top edges and stitch around the entire upper perimeter.
- Turn the basket right-side out through the opening in the lining. Slip-stitch the opening closed.
- Push the lining down into the exterior basket, press the top rim flat, and topstitch 1/4 inch from the top edge. Fold the top 2 inches down to display the lining pattern.
Tips and Variations
- Tip: Use a walking foot on your sewing machine to prevent the quilted layers from shifting while stitching long lines.
- Variation: Add double-sided quilted straps made from scrap fabric to turn this into a tote-style carry bin.